Last year, I created custom letters for a logotype logo design. This year, my resolution is to complete all 24 letters to create an original font. I don’t mind that it’s not perfectly formed like Times New Roman or Helvetica. We have enough subtle typefaces; I’m striving for something organic and fun, something that stands out in a sea of perfect fonts. The challenge is to make these letters a cohesive set. I’m not an expert, but I am an artist, and I know the best way to learn is to dive in.
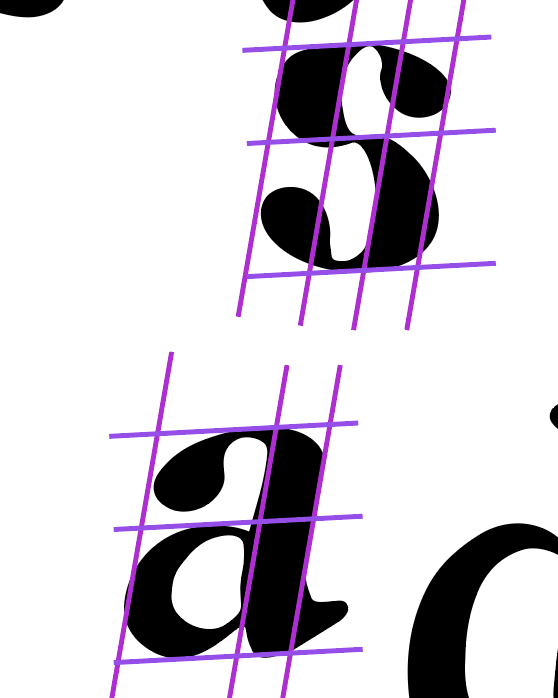
The s is a challenge. I created a slanted grid using the line tool to help me angle the s similar to the a. Then, I figured out I can change the angle of Illustrator guide lines by selecting them and using the rotate tool. Later, I recalled from my reading on hand lettering that the “s” is based on the “o”. Can you see how the middle of the s echoes the inside of the o?

Letter creation involves Frankensteining elements of different letters together to create new letterforms. Here I directly cover the z with the r, rotate, and subtract the unnecessary appendages. The key is to keep trying new combinations until something feels right.
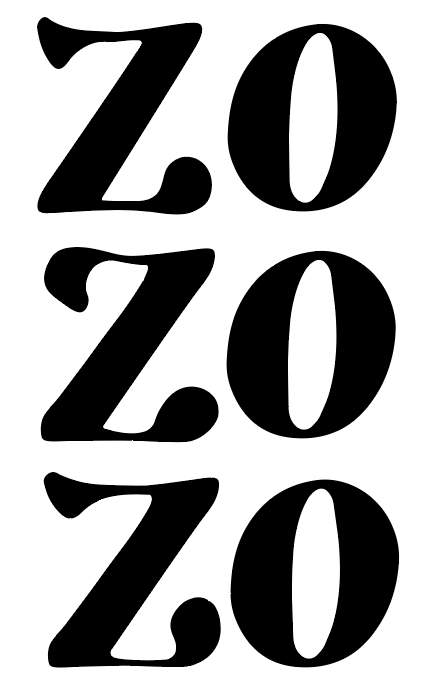
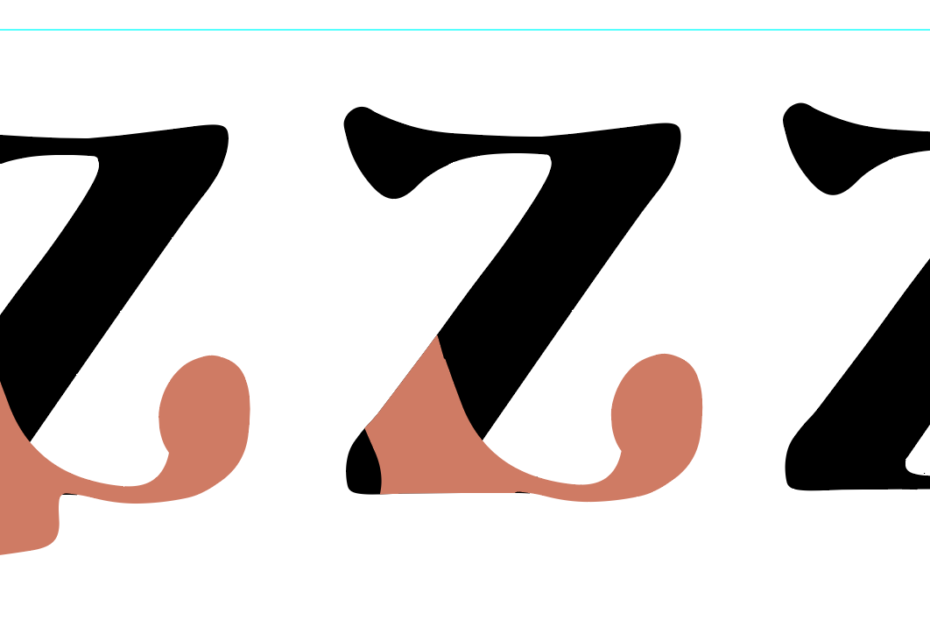
I tried a few different elements with the z. Which is your favorite? Which feels right with the other letters? Font making programs allow alternate letters. I can include all 3 variations in my final file, if I want, when I get there.

Now that all of my letters are built, the next step is to line them up in order using guidelines. I still have to fine tune sizing and work on cohesion. Then, letters will be ready to input into the font building program! It’s best to break the work into sections when you create an original font. Part B of this post will be titled The Final Steps to Create and Original Font.