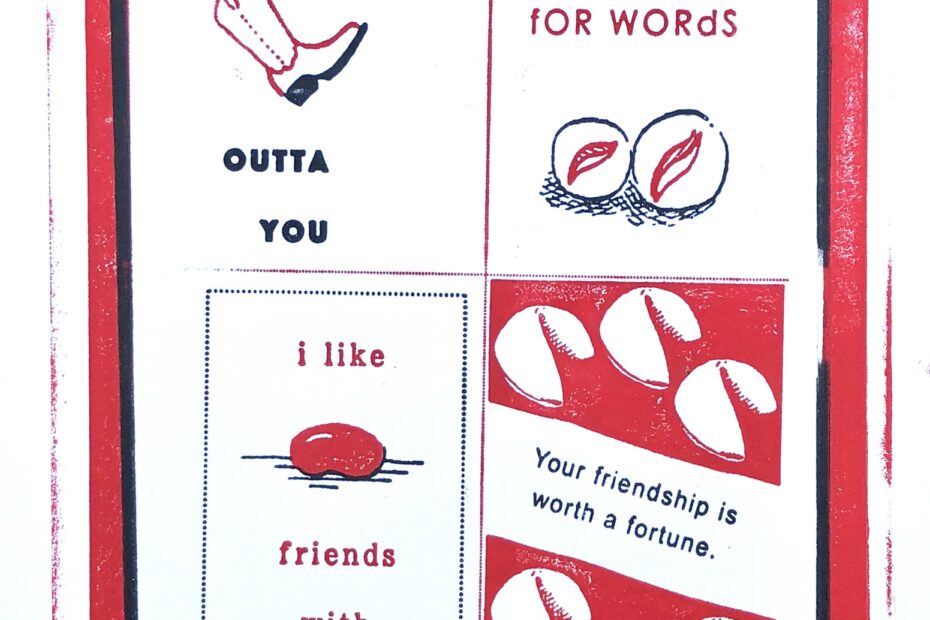
I’ve wanted to create DIY Letterpress cards using polymer letterpress plates and press them with my Pocket Press for a long time now. For Valentines day this year, I created a sheet of classroom Valentines for my son to pass out. It’s not our first printed Valentine, and it probably won’t be the last. (We made Valentines, but the steps in those post are the same for those researching how to print letterpress wedding invitations without a letterpress.)

Designing
I settled on a standard kid valentine card size so I could create a single sheet of 4 unique Valentines to cut out.
A few years ago I illustrated a book of very short stories, called Legumes, for my friend, author Gabriela Knutson. I decided to use some of these drawings for this Valentines project. I looked through the illustrations and chose 4 I could put a spin on to say something positive or make a pun. Here’s a shot of my computer screen during the design process. I used Adobe Photoshop to create the designs, and then I decided which elements would be red or black.
Polymer Letterpress Plates
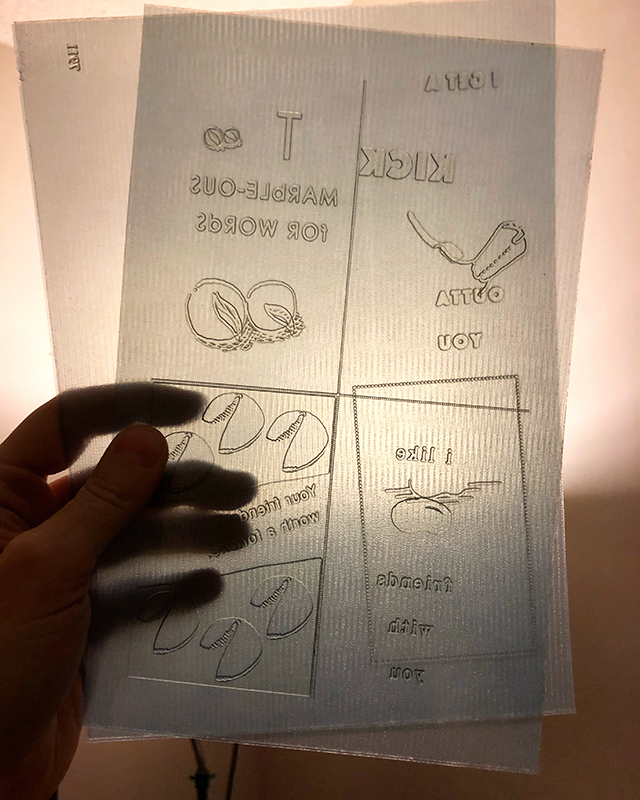
I uploaded my two files to the Boxcar Press site and about a week later my new polymer letterpress plates arrived in the mail!
Inking
The hardest part about doing letterpress without an actual letterpress is inking. Here is a great tutorial for inking without a letterpress by Boxcar Press: L Letterpress Printing Techniques. The tutorial explains how to ink by hand. “The solution always has been to put roller bearers to support the roller alongside the part that you want to ink” according to Boxcar- and they show you how. Their tutorial assumes you’ll be printing with an L Letterpress setup, but the inking advice applies to doing letterpress with any press that isn’t a letterpress, like a Pocket Press.
Printing
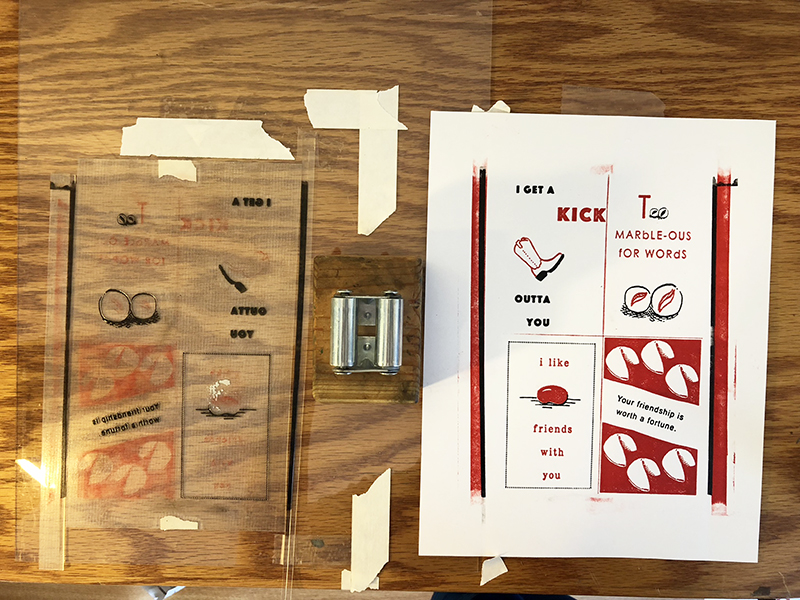
The trickiest part, as always, is registration. For the first run, I marked where to lay each sheet of paper with tape. For the second pass, fellow printmaker and instagrammer 9inhandPress gave me (Printmakingpress) some great advice. “Use double stick tape on the printable side of the uninked plate and expose the sticky backing, place it on the print where it needs to register, roll it through your press and it should land (and stay stuck, [fingers crossed], where you’ll need it to be every time.”
I ended up having to move my tape registration marks a little, but I figured it out after some troubleshooting and the rest of the Valentines came out registered. It was also very handy that the surface I attached the second letterpress plate to was clear. I was able to lift it up and turn it over to get that registration right!
I plan to do more letterpress in the future and to create a tutorial using a simpler project, like for invitations or for couples who want to make letterpress wedding invitations without a letterpress. Details like the best ink types and how to prepare your files for the plate maker will be covered, along with video footage and step by step instructions. With a smaller plate and just one ink color, single cards and invitations are a much simpler project than these relatively humongous two color valentines. But, they didn’t turn out half bad!
The Finished Print
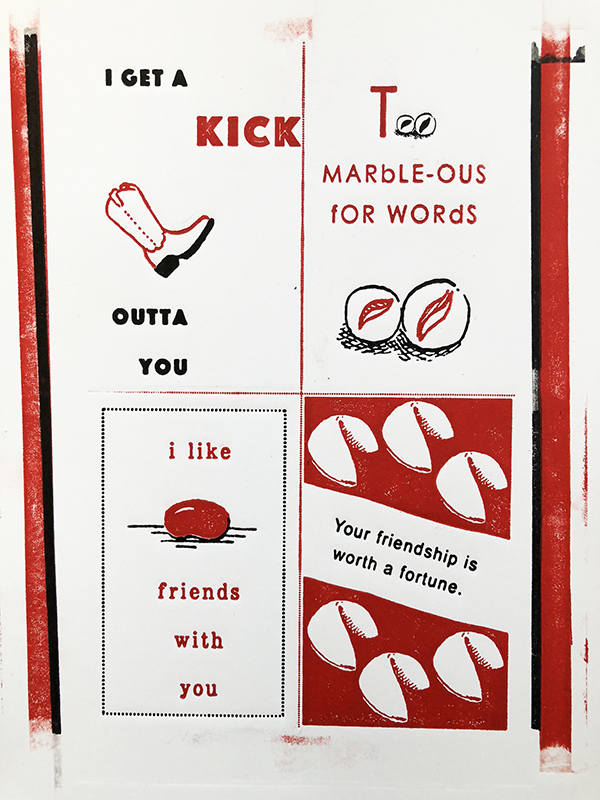
Even after I trim the roller bearer strip markings off the edges, my valentines will have a few small smudges. Inking two color plates for letterpress without an automatic inking machine (a letterpress) is a challenge with any type of non-letterpress, but I’m pleased with the results. Anything, in my opinion, is better than purchasing advertisements disguised as Valentines and distributing them in the classroom. The beauty of letterpress is that quality that stands out from the noise of digitally printed colored clutter like a breath of fresh air.


